In this article, you'll learn how to deploy your React applications using four different services, all for free!
- Code Sandbox
- Github Pages
- Vercel
- Netlify
Code Sandbox
Deploying a React application on CodeSandbox is straightforward, as CodeSandbox provides an integrated environment for development and previewing. Here's a step-by-step guide:
Step 1: Create or Import Your Project
If you haven't already, create a new sandbox for your React project or import an existing project.
Step 2: Preview the Project
In CodeSandbox, you can preview your project in real-time by clicking the "Preview" button or opening the preview pane. The app will automatically reload if you make changes to the code.

Step 3: Share the Link
If you want to share your project, you can use the URL from your address bar. This URL can be shared with anyone and will allow them to view and edit (if permissions are granted) the sandbox.
CodeSandbox also provides integration with hosting providers like Netlify and Vercel. Click on the "Deployment" button in the sidebar, choose your provider, and follow the prompts. This will create a live deployment of your project that's hosted outside of CodeSandbox.
If you're working on a temporary or anonymous sandbox, make sure to fork and save it to your account to keep the changes.
Please note that while CodeSandbox provides a great environment for development and sharing, it's not intended for hosting production applications. If you need a production-ready deployment, you might consider deploying to a service like Netlify, Vercel, or GitHub Pages from within CodeSandbox or directly from your local development environment.
Github Pages
You've already been using GitHub Pages to deploy your static websites. Deploying a React app is not as straightforward, it requires you to first create a static build of your application and then deploying the build.
Step 1
Create a new GitHub repository for your project.
After successfully creating your repository, clone it locally. Then, commit all your changes and push them to your GitHub repository.
Step 2
In your project’s package.json, add a homepage field, like this:
"homepage": "https://[YOUR_USER_NAME].github.io/[REPOSITORY_NAME]"Step 3
Install gh-pages in your project
using npm
npm install --save gh-pagesusing pnpm
pnpm dlx install gh-pagesIn your package.json, add the following scripts.
"scripts" :{
  "predeploy": "npm run build",
  "deploy": "gh-pages -d build"
}predeploy: This script will automatically run before executing the deploy script, building your React app with the latest changes.deploy: This script will deploy the project to GitHub Pages.
Step 4
Now, you can run the deploy command to deploy your project
npm run deployThis command will deploy your built app on GitHub Pages by creating a new branch named gh-pages.
To obtain the published URL:
- Navigate to your GitHub Repository.
- Click on the "Settings" menu.
- Proceed to the "Pages" section.
- You'll find the "Your site is published" message.
Now, you can access the deployed site using the provided published URL!
Note: Whenever you make new changes, remember to deploy your app using the deploy command.
Vercel
Vercel is a platform that offers several services along with deployment service
With Vercel, putting your website online becomes a piece of cake. You can easily import your projects from Github with Vercel and deploy it.
Step 1
Create a new GitHub repository for your project if you don't already have one, and commit all your changes by pushing them to it.
Step 2
To deploy your React app on Vercel, you need a Vercel account. If you already have an account, you can skip this step and login to your existing vercel account.
To create a new account, you can select "Hobby" it offers free deployment services.

Step 3
After successful login, visit your vercel dashboard and create a new Project there.
Select Project from the dropdown menu.

It will open a new page asking you to import your git repository. Next thing you should do is click on Continue with Github button

This will take you to the GitHub authorization page, where you'll be prompted to give permission for the repository you intend to deploy and install Vercel.
You can select either All repositories or opt for specific repositories using Only select repositories.

Step 4
Now, a list of all your GitHub repositories or the one you've chosen will be displayed.
Select the GitHub repository by clicking on the Import button that holds your React project.

It will open a configuration page for deploying your React Project. Make sure that your Framework Preset is selected as "Create React App" if Vercel doesn't automatically detect it.
Finally, to deploy your React app, click on the "Deploy" button. This will initiate the deployment process, which involves building, checking, and ultimately assigning a domain to your project.
Keep in mind that this process might take some time to complete.

Once your React app is deployed, you can Go to Dashboard to see details about your deployed application such as the domain name and other deployment information.
You can access your deployed app by clicking on "Visit" button or using the published URL!

Netlify
Netlify is a web hosting and automation platform that you can use to deploy your React app. They provide free services for hosting your website with certain limitations. You can utilize it for development purposes or to demonstrate your React application.
Step 1
Create a new GitHub repository for your project if you don't already have one, and commit all your changes by pushing them to it.
Step 2
To deploy your React app on Netlify, you need a Netlify account.
If you already have an account, you can skip this step and login to your existing netlify account.
To create a new account click on "Sign up with Github"

And authorize Netlify to access your Github repositories. This allows automatic deployment whenever you push your changes.

Step 3
Once you've successfully logged in and granted Netlify access to your GitHub repositories, go ahead and visit your Netlify dashboard
Next, Click on "import an existing project"

This will open a list of all your GitHub repositories.
From this list, you can select the GitHub repository that contains your React app and that you want to deploy.

After you select the Github repository you want to deploy, it will open a configuration page for you.
Choose the branch from which you'd like to deploy. In this case, it's the main branch.

You might also need to add a build command if Netlify doesn't automatically detect it.
Additionally, you can add environment variables by clicking on "Add environment variables."
Finally, click on the "Deploy" button to start the deployment process for your React App.

Keep in mind that this deployment process might take some time to complete.
Step 4
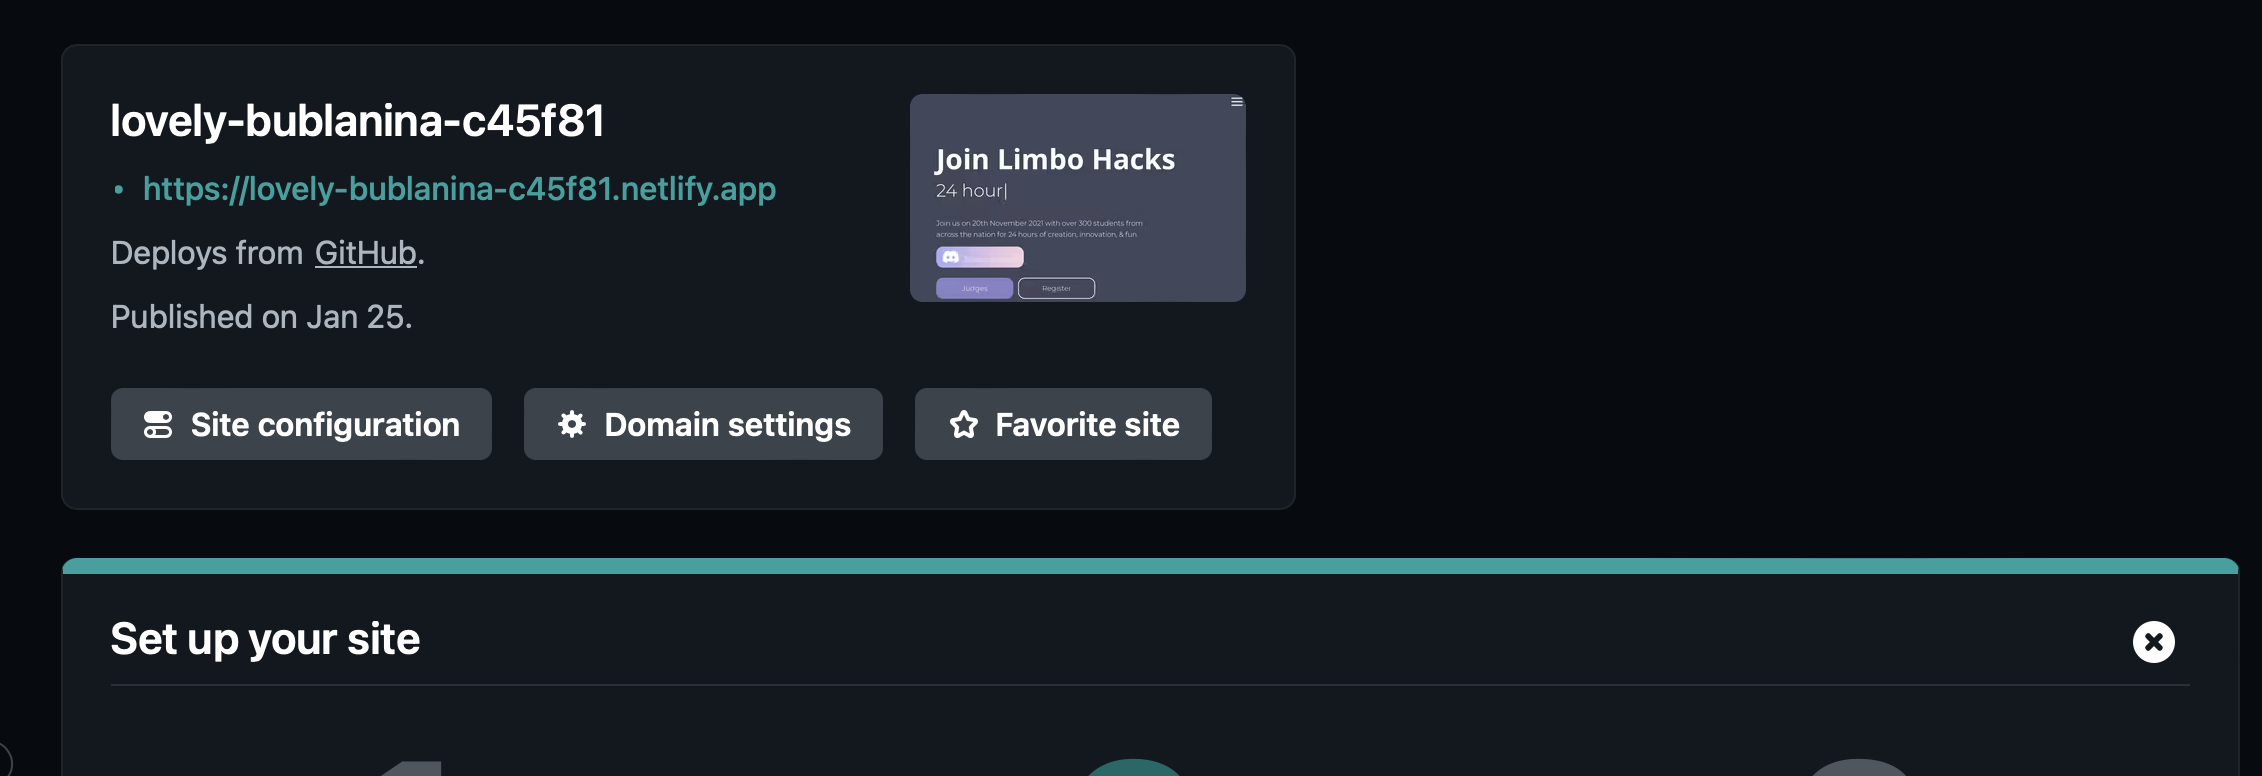
Once your application is deployed, you can access it through your Netlify dashboard
To visit your deployed app, simply click on the published URL!