Git is a powerful tool for version control that allows developers to track changes made to their code over time. If you don't understand what Git and GitHub are, start with this blog post first - Introduction to Git & Github
In this post, I'll help you get started with working with Git and learn how to create your first git repository and create your first commit.
But before that, let's have a quick refresher on some basic terminal knowledge.
Working with the terminal
What is the terminal?
A terminal, or command line interface (CLI), is a text-based interface that you can use to interact with your computer's operating system. It allows you to execute commands by typing them in and receiving text-based feedback in response.
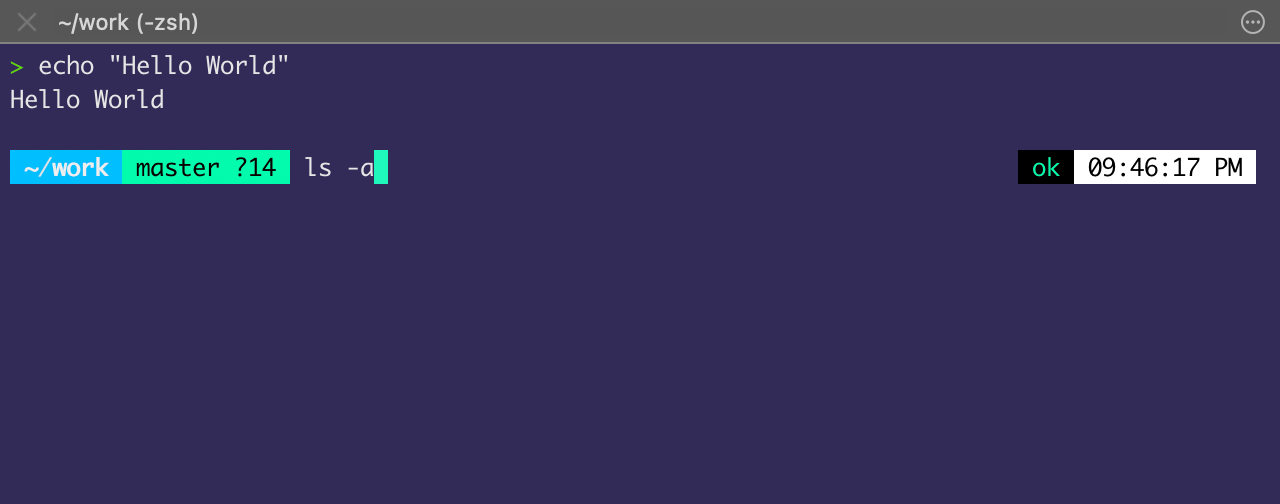
You can use the terminal to navigate through files and directories, run programs, configuring system settings, and much more. They are commonly used by developers, system administrators, and power users who prefer the flexibility and efficiency of a text-based interface over a graphical user interface (GUI).
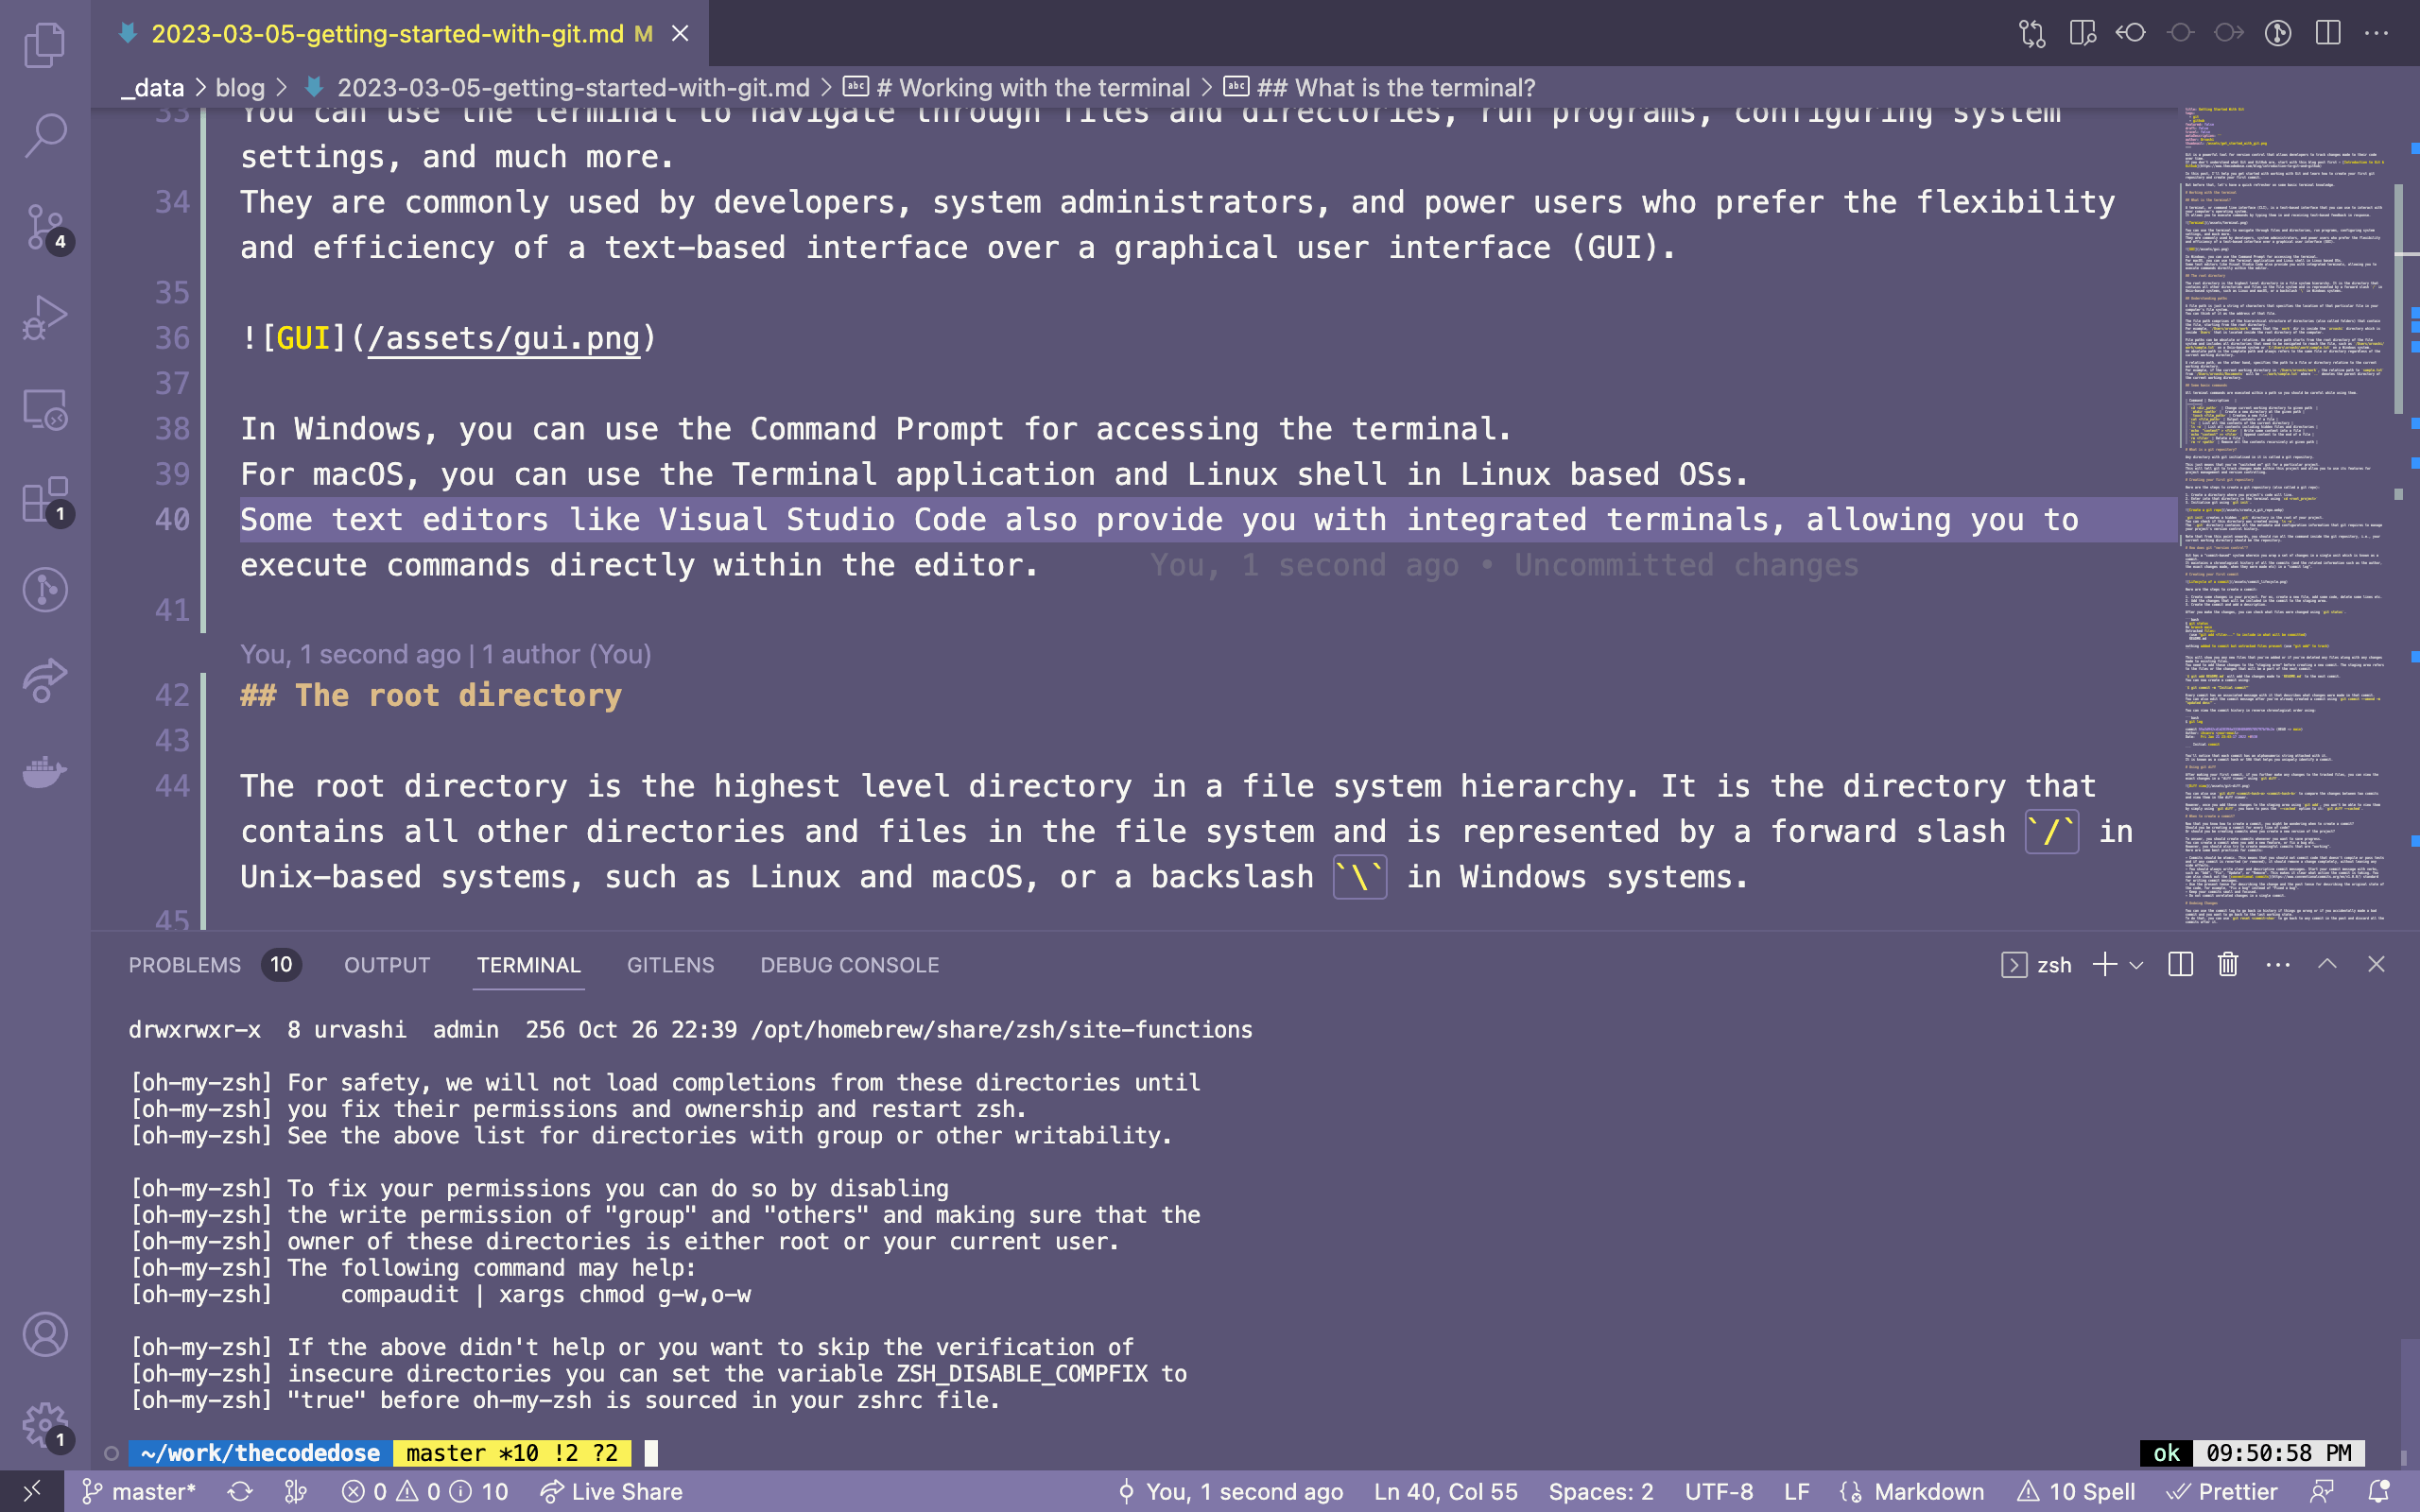
In Windows, you can use the Command Prompt for accessing the terminal. For macOS, you can use the Terminal application and Linux shell in Linux based OSs. Some text editors like Visual Studio Code also provide you with integrated terminals, allowing you to execute commands directly within the editor.
The root directory
The root directory is the highest level directory in a file system hierarchy. It is the directory that contains all other directories and files in the file system and is represented by a forward slash / in Unix-based systems, such as Linux and macOS, or a backslash \ in Windows systems.
Understanding paths
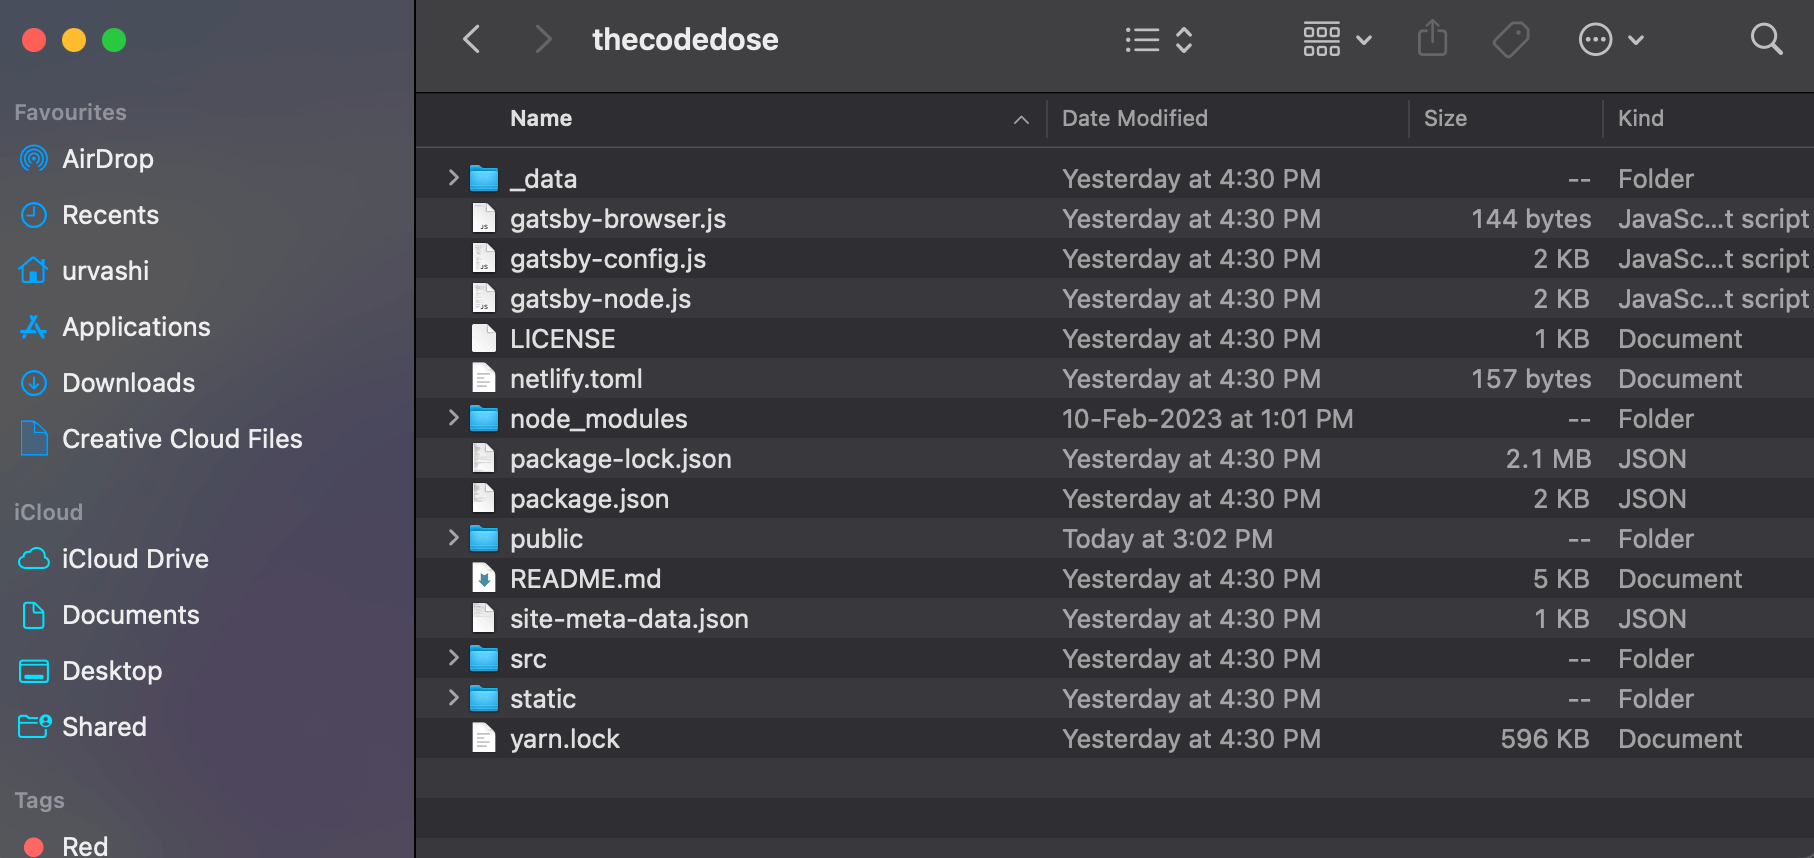
A file path is just a string of characters that specifies the location of that particular file in your computer's file system.
The file path comprises of the hierarchical structure of directories (also called folders) that contain the file, starting from the root directory. For example, /Users/urvashi/work means that the work dir is inside the urvashi directory which is inside Users that is located inside the root directory of the computer.
File paths can be absolute or relative. An absolute path starts from the root directory of the file system and includes all directories that need to be navigated to reach the file, such as /Users/urvashi/work/sample.txt on a Unix-based system or C:\Users\urvashi\work\sample.txt on a Windows system.
A relative path, on the other hand, specifies the path to a file or directory relative to the current working directory. For example, if the current working directory is /Users/urvashi/work, the relative path to sample.txt from /Users/urvashi/Documents will be ../work/sample.txt where .. denotes the parent directory of the current working directory.
Some basic commands
Just like how you would enter a directory by double clicking on it using the GUI, you can use the cd command to enter into a directory using the terminal.
| Command | Description |
|---|---|
cd <dir_path> | Change current working directory to given path |
mkdir <path> | Create a new directory at the given path |
touch <file_path> | Creates a new file |
cat <file_path> | Output contents of a file |
ls | List all the contents of the current directory |
ls -a | List all contents including hidden files and directories |
echo "content" > <file> | Write some content into a file |
echo "content" >> <file> | Append content to the end of a file |
rm <file> | Delete a file |
rm -r <path> | Remove all the contents recursively at given path |
All terminal commands are executed within a path, like creating a new file or deleting existing files, so you should navigate to the right path first before using them especially if you're using relative paths.
What is a git repository?
Any directory with git initialised in it is called a git repository.
This just means that you've "switched on" git for a particular project. This will tell git to track changes made within this project and allow you to use its features for project management and version controlling.
Creating your first git repository
Here are the steps to create a git repository (also called a git repo):
- Create a directory where you project's code will live.
- Enter into that directory in the terminal using
cd <root_project> - Initialise git using
git init.
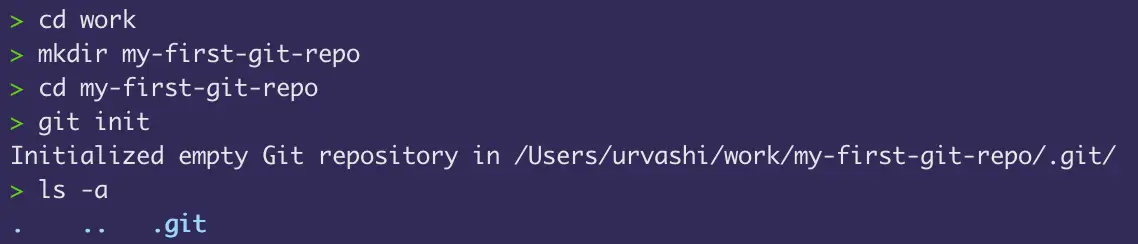
git init creates a hidden .git directory in the root of your project. You can check if this directory was created using ls -a. The .git directory contains all the metadata and configuration information that git requires to manage your project's version control history.
Note that from this point onwards, you should run all the git commands inside the git repository, i.e., your current working directory should be the repository.
How does git "version control"?
Git has a "commit-based" system wherein you wrap a set of changes in a single unit which is known as a commit. These changes could be anything, for example: renaming a file, adding new lines to a file, editing a file etc. You can group any changes that you want and create a commit of them.
Git maintains a chronological history of all the commits (and the related information such as the author, the exact changes made, when they were made etc) in a "commit log" for version management.
Creating your first commit
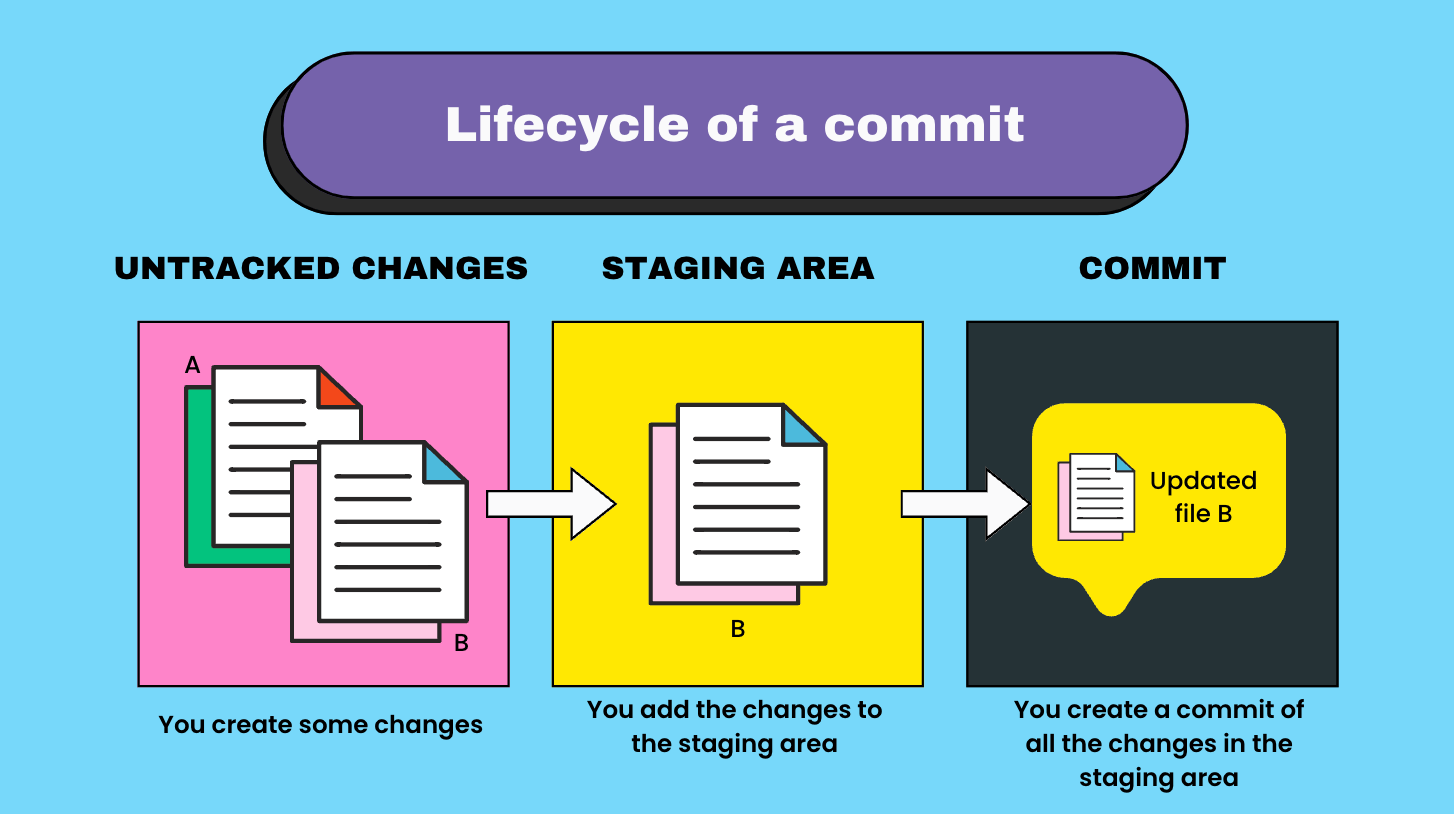
Here are the steps to create a commit:
- Create some changes in your project. For ex, create a new file, add some code, delete some lines etc.
- Add the changes that will be included in the commit to the staging area. The staging area is an imaginary area. Only the changes added to this area are added to the commit.
- After adding the necessary changes, create the commit and add a description.
After you make the changes, you can check what files were changed using git status.
$ git status
On branch main
Untracked files:
  (use "git add <file>..." to include in what will be committed)
	README.md

nothing added to commit but untracked files present (use "git add" to track)
This will show you any new files that you've added or if you've deleted any files along with any changes made to existing files. You need to add these changes to the "staging area" before creating a new commit.
$ git add README.md will add the changes made to README.md to the next commit. You can now create a commit using:
$ git commit -m "Initial commit"
Every commit has an associated message with it that describes what changes were made in that commit. You can also edit the commit message after you've already created a commit using git commit --amend -m "updated desc".
You can view the commit history in reverse chronological order using:
$ git log

commit 55a3d942cd1d28394a3330486095785797bf0c2e (HEAD -> main)
Author: ihsavru <your-email>
Date:   Fri Jan 21 23:43:17 2022 +0530

    Initial commit
You'll notice that each commit has an alphanumeric string attached with it. It is known as a commit hash or SHA that helps you uniquely identify a commit.
Using git diff
After making your first commit, if you further make any changes to the tracked files, you can view the exact changes in a "diff viewer" using git diff.
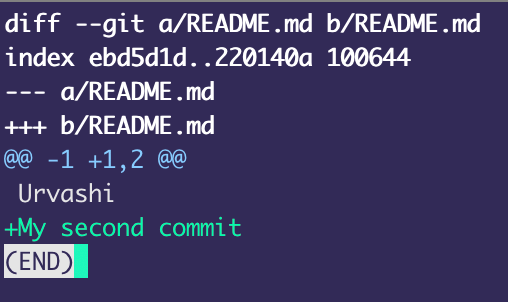
However, once you add these changes to the staging area using git add, you won't be able to view them by simply using git diff, you have to pass the --cached option to it: git diff --cached.
You can also use git diff <commit-hash-a> <commit-hash-b> to compare the changes between two commits and view them in the diff viewer.
When to create a commit?
Now that you know how to create a commit, you might be wondering when to create a commit? Should you be creating a commit for every line of code? Or should you be creating commits when you create a new version of the project?
To answer, you should create commits whenever you want to save progress. You can create a commit when you add a new feature, or fix a bug etc. However, you should also try to create meaningful commits that are "working". Here are some best practices for commits:
- Commits should be atomic. This means that you should not commit code that doesn't compile or pass tests and if any commit is reverted (or removed), it should remove a change completely, without leaving any side effects.
- You should always write clear and descriptive commit messages. Start your commit message with verbs, such as "Add", "Fix", "Update", or "Remove". This makes it clear what action the commit is taking. You can also check out the conventional commits standard for writing commit messages.
- Use the present tense for describing the change and the past tense for describing the original state of the code, for example, "Fix a bug" instead of "Fixed a bug".
- Keep your commits small and focused.
- Do not commit unrelated changes in a single commit.
Jumping through commits
You can use the commit log to go back in history if things go wrong or if you accidentally made a bad commit and you want to go back to the last working state. To do that, you can use git reset <commit-sha> to go back to any commit in the past and discard all the commits after it.
git reset 55a3d942cd1d28394a3330486095785797bf0c2eIf you don't want to change the history and just want to view the project at a past commit, you can use git checkout <commit-sha>.
git checkout 55a3d942cd1d28394a3330486095785797bf0c2eAnd go back to the current state using git checkout main.
Discarding uncommitted changes
You can also discard any "uncommitted" changes to start afresh from the last commit using git stash. Everytime you use git stash, the discarded changes are pushed in to a stack-like structure.
You can view the stash list using git stash list.
stash@{0}: WIP on dev: fd491d9 Reset
stash@{1}: WIP on main: db1b67a Add README.md
You can use this list to apply back any discarded changes later on using git stash apply which pops and applies the changes last pushed into the stack, or git stash apply stash@{x} which applies the stashed changes at the x index.